

Another New Feature: Diners, Drive-Ins and Dave….

Posted on Thursday, Aug. 30, 2018, 5:00 pm by Dave Scarangella
Follow Jerry Ratcliffe on Twitter
Advertising inquiries: Connect with us
Email Jerry Ratcliffe: jratcliffe7000@gmail.com
If you’ve been a sports fan for more than 5 minutes, you realize at some point in your fandom that your love of sports is going to intersect with your love of food. You really can’t have one without the other, as tailgating, cookouts, game-watching parties…they all require food. And good food too, not a 20-piece box of McNuggets and a six pack you picked up on the way.
So Hootie and I decided we needed to address that. I am my family’s cook, having struck a deal with my new bride 38 years ago that went something like this: I’ll cook if you’ll clean the kitchen. She said deal. I still think I got the better end of the arrangement, too.
So we interrupt the steady flow of stories talking about the X’s and O’s of all things football right now and are going to show you some cooking tips on barbecue. Follow these correctly, and you’ll find all heroes don’t wear capes. You will be revered. People will want to be like you. And it’s only slightly more difficult than boiling water.
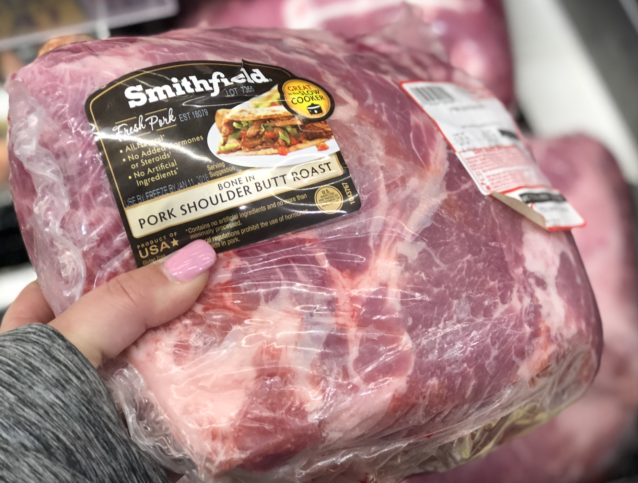
Everyone likes barbecue, and this weekend, it’s dirt cheap. The cut of meat you need to make barbecue from is called either a pork shoulder or a Boston Butt, and it normally sells for between $1.79 to $1.99 pound. Today while I was at Harris-Teeter, for example, they were selling a Smithfield pork shoulder/Boston Butt for 99 cents a pound (because it’s Labor Day weekend and they want to entice you into the store with deals on ingredients for barbecue, burgers, etc.). It should look exactly like the picture above (no those are not my pink fingernails; I got the picture off the internet). And for you folks who skipped math, that means a good sized 8-pound shoulder is going to cost under $8. Or about what you’ll pay for one beer at a Washington Nationals game.
After you’ve purchased one, you need to allow two days before you plan to serve it. Since the UVA- Richmond game is 48 hours from when you’re reading this, if you want to do this for tailgating, you need to get moving. Here’s what you do:
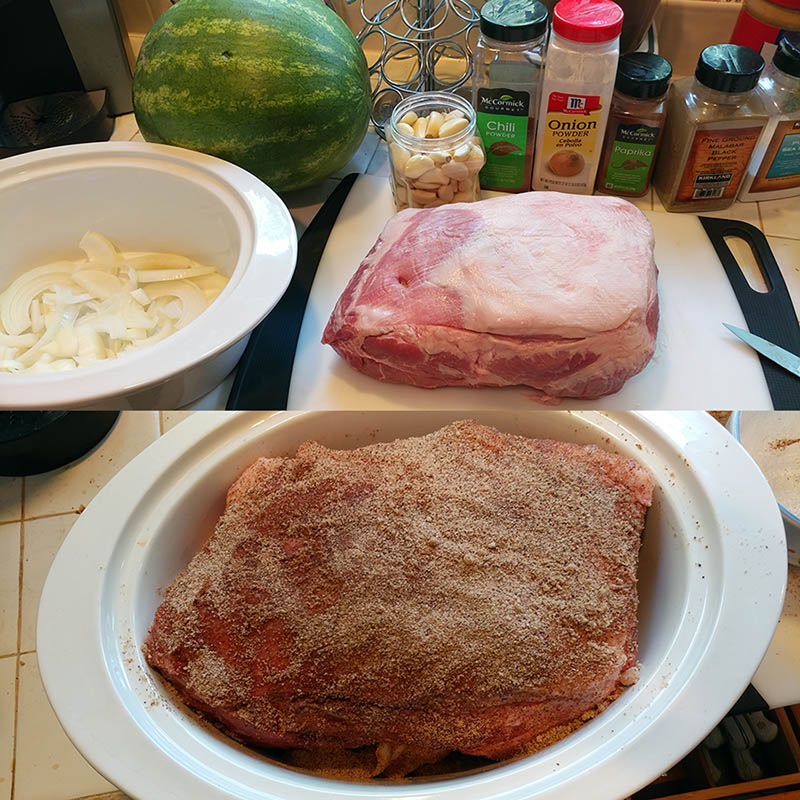
A shoulder tastes best when slow cooked with a dry rub applied, so you need to make one. There are a lot of ingredients you can use, but they usually fall into three categories: something sweet, something salty and something savory. The something sweet is easy: brown sugar. The something salty is pretty easy too: salt. The savory includes things like garlic powder, onion powder, chili powder, paprika, maybe even cumin. Add equal parts of the sugar, salt and the savory ingredients you like and mix together.
Not sure?, put them all in and then adjust if you notice a sour note you don’t like. I will add dry mustard some time (truth be told I’ll add every thing I have in my spice cabinet at times) and sometimes I’ll only mix sugar, salt, paprika, chili powder and onion powder. Truth is, you can’t mess this up. Just make sure you mix enough to coat the whole shoulder. If you err in any direction, add more brown sugar than anything. Sweetness is never a bad thing with pork.
Next you should get a pan big enough to hold this shoulder. Slice an onion and lay it on the bottom of the pan. Grab a sharp knife, take the shoulder and cut about 8 slits into it. Peel 8 cloves of garlic and put them in those slits (onions and garlic are aromatics that really help the flavor). Then take your dry rub and coat all sides of it, but when done make sure you put it back in the pan fat side up as you lay it on the bed of onions. This allows that fat to render while cooking and those juices baste the rest of the shoulder.
Cover (either with a lid or aluminum foil) and put in the refrigerator for 24 hours. You can then cook it in a smoker, you can use your oven, or for real convenience, use a crockpot (which I’ve done in these pictures). Make sure, however, that the shoulder fits in the crockpot with the lid on (a mistake I’ve made more than once and then had to change plans and use the oven). But either way, the pork needs to sit in the refrigerator at least 24 hours with the dry rub on it.
You’re now almost done. When 24 hours is up, uncover and add liquid to the bottom of the pan. I use apple juice, but you can also use water, and I have at times poured Dr. Pepper in as the liquid. The pork needs this to stay moist, and I’ve found the sweeter the liquid, the better the barbecue.
Cover again and if it’s the oven, put it in toward the lowest settings you can (I put mine at 200 degrees) or put it in the crockpot on low. Then walk away for 8 to 10 hours. The longer it cooks, the better it’s going to be, so don’t keep peeking at it at 4 or 6 hours. I will usually do all the dry rub one night (like tonight) and put it in the fridge, then tomorrow night I will take it out of the refrigerator right before I go to bed at midnight and put it in the oven. When I get up the next morning, the house smells great, the dogs are walking around with their noses up in the air trying to find this heavenly creation, and the pork is pull-apart tender.
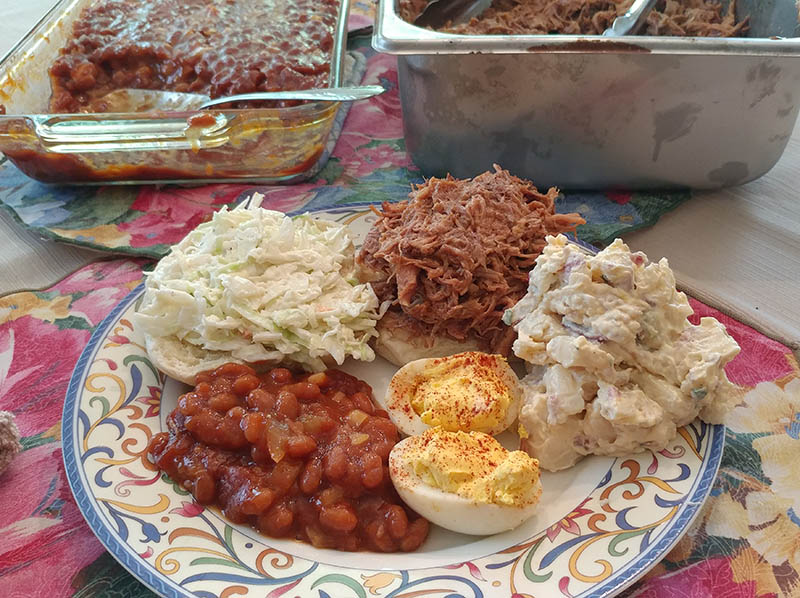
When done, pull the pan out of the oven and let it cool. It should now be so tender you can pull the shoulder bone out cleanly and the meat falls apart. Shred it (pulling as much as the fat out as you can) and put it into another pan. Apply barbecue sauce of your choosing, add a little coleslaw, put on a bun and you will have the best barbecue sandwich you’ve ever had. As you see above, I will usually add some potato salad, deviled eggs and some baked beans to a plate and for at least an hour or two, Dad’s the man. We will keep it in a large Tupperware container, store it in the fridge and then only pull out what we need at future meal times for barbecue sandwiches, barbecue nachos…I’ve even put it in a ragu sauce and served it on angel hair pasta. Because 8 pounds makes a LOT of barbecue.
It’s cheap, easy and delicious. Only thing it really demands is time.
So get to the store, buy a butt, then get off of yours and make somebody happy this weekend….